Well, yesterday my oldest daughter (Nicole) and I canned our pears. I thought it was time for her to learn how to help me do some canning this year. She is 9 yrs old and loves to help in the kitchen. She did very well for her first time helping. We had 52 lbs of pears that we picked up from Farmer's Market for less than $40 (cheaper than they were last year). The end result was 24 pints and 12 quarts which will last us a good year. However, I highly recommend getting a peeler for the pears; I had forgot to go buy a new peeler and had to do it the old fashioned way and have many blisters on my hands where I was holding the paring knife today. Ouch! (imagine my difficulties today at work trying to run my cash register and having the blisters on my typing/button pushing hand LOL) This is the one I would recommend by way of fruit/vegetable peelers. A small investment to make the whole canning pears or making applesauce much easier by not having to pare the apples/pears yourself.
Here are some pictures of the process we did yesterday (it took us most of the day and I finally finished about 11:00 pm last night (pacific time); we started around 2:00 pm. It was a long day, but we had alot of fun. Enjoy the pictures and I will insert some tips along the way to help make this easier for anyone who wants to learn.
First, you have to be very organized for the whole canning process to go smoothly. Look in the way back of the picture (just past me in the picture), we have an assembly line going on; it is very important to set up your assembly line BEFORE you start peeling or paring or cutting anything and make sure everything is ready to go before starting. (we have a very small kitchen as you can see, and so we have to maximize every bit of space or it would never work for us) First we have the box of pears (you want firm fruit because it processed in the hot water bath, they soften and if the fruit is too ripe then it will become very mushy and thats not good) that I will be paring and washing; then I hand it off to my daughter to take the cores out and cut into slices; then she will put it in the bath (which is the big metal bowl filled with 1 gallon water, 2 Tb salt and 2 Tb of vinegar; the solution in which the pears will be dipped in so they do not turn brown), then from there you keep the jars hot in the dishwasher so you are raw packing (raw packing is when you put them into the jars without blanching first) them into hot jars to put the simple syrup in it (*recipe for simple syrup coming up later), then fill jars with simple syrup, then place lids and screw caps, and finally in the canner they go. Anyway here are the pictures.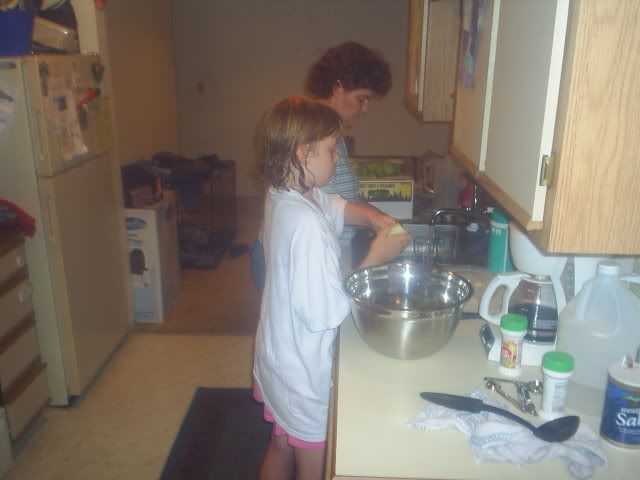 Our beginning assembly line.
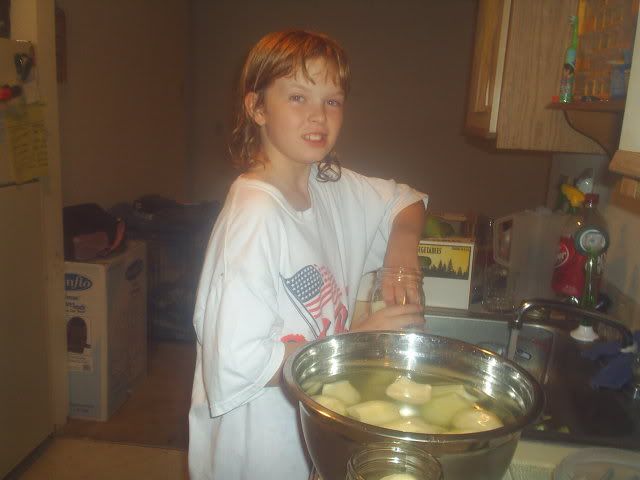 Nicole is the master corer/slicer in this one while she was filling the jars with pears.
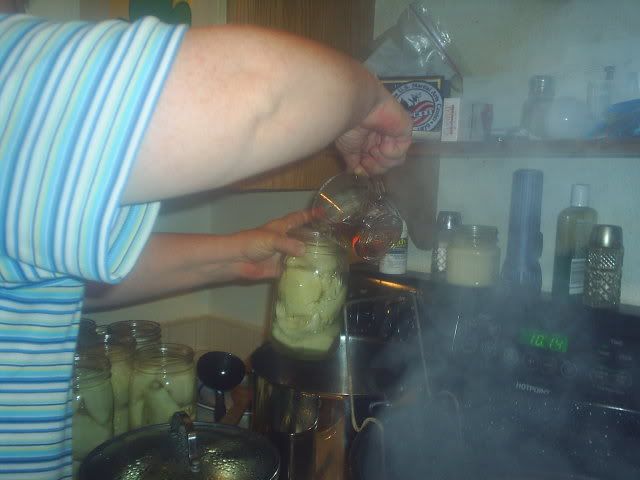 Filling jars with simple syrup.
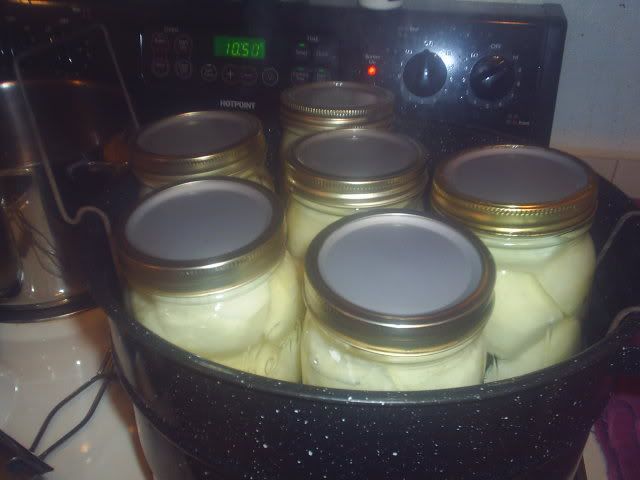 Into the canner they go. 6 quarts per batch so your boiling water doesn't overflow, 7 pints per batch can be processed each batch. And yes, the clock was PM time, it was 10:50 at the time we put our last batch in, we were tired LOL
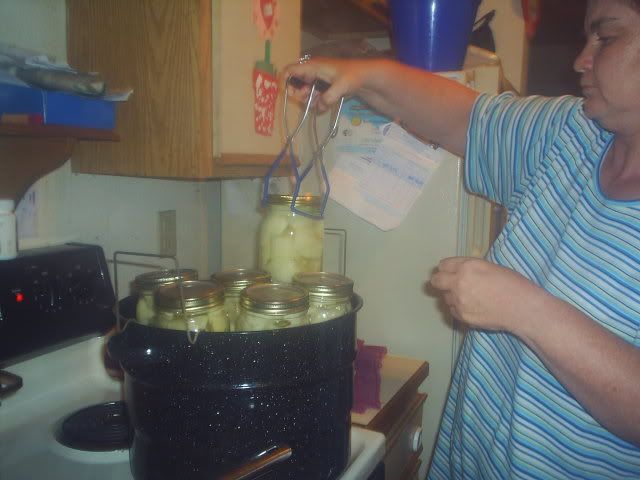 Using the jar lifter to get the jars out. They look like huge tongs but a very handy tool.
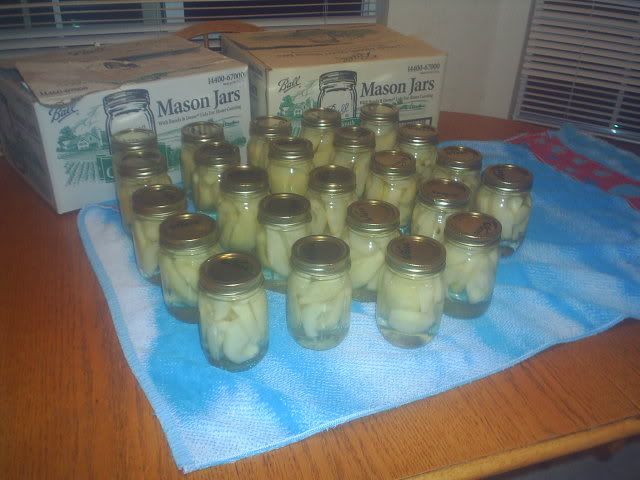 24 pints are done here.
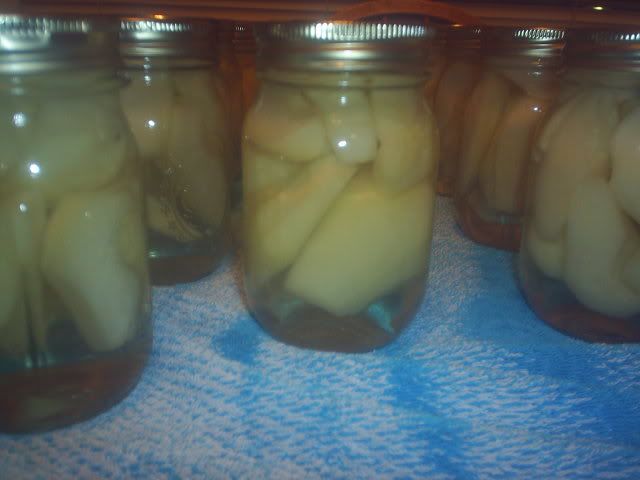 They sure have nice color. Comes from giving them a bath to make them not brown, and adding 1/4 tsp of Fruit Fresh to each jar before syrup. They will hold their color for the next year.
We had a great time canning this and it was great mom/daughter time.![]()


No comments:
Post a Comment